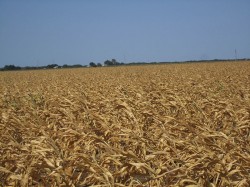
2013 A Year Of Food Crisis
A lot of people were relieved the End of the World eluded Earth again… Many saw this as an opportunity to party hard, hang out with family and friends, share love and positive thoughts and smile more often.
Keep Your Family Safe

A lot of people were relieved the End of the World eluded Earth again… Many saw this as an opportunity to party hard, hang out with family and friends, share love and positive thoughts and smile more often.
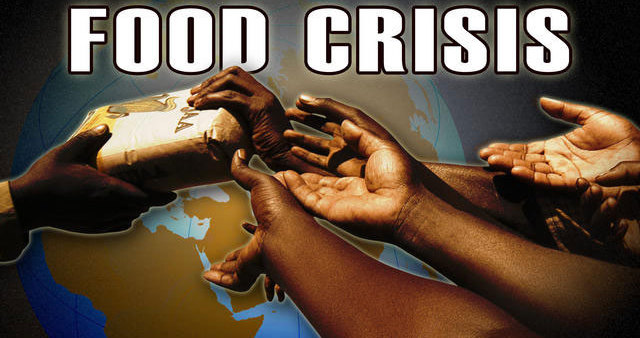
This is what happened in Haiti, after the 2010 earthquake, when trucks came loaded with food and started handing it out to hungry residents.I must have watched this video about 10 times in a row. It terrifies me every single time, but I still watch it. I can’t help it. You don’t get
Do you remember “the good old days”? It’s a simple question, but a question that induces different images to different people. I have found myself …
I was just dying for a pizza the other day, but not any kind… I was craving for the pizza my mom used to make …
We have no way of knowing what will happen in the future. Whether it is a decade, a year, or even a week from now, …
photo source: www.agriculturesource.com Today’s Emergency Food Recipe is deliiiicious and embarrassingly easy. busycooks reveals the secrets to making a perfect butter bean salad in no …
Yesterday, I was surfing the Internet, reading the latest news, when I stumbled upon a very interesting article on CNN. It was called “Why 2013 …
photo source: http://hanimcooks.tumblr.com I’m back with this week’s emergency food recipe and YES, this time it’s a nutritious treat for the kids. Of course, it’s …
Welcome to the Emergency Food Recipe Of The Week column! Every Friday, I’m going to be posting a new delicious recipe you can make with …
Since 75% of grocery store products use corn as a key ingredient, expect food prices to skyrocket. Corn is also a staple in many fast foods. Corn is in ethanol and the main food source or chickens. In addition to this, maize is in many things that aren’t obvious like adhesives, aluminum, aspirin, clothing