Food Storage Wisdom (24 Vital Tips)
A generation or two ago, families had the good sense to always maintain a good food storage program because they understood that bad things can happen to food supplies. At some point, America became complacent
Keep Your Family Safe

A generation or two ago, families had the good sense to always maintain a good food storage program because they understood that bad things can happen to food supplies. At some point, America became complacent
Shelf life is affected by oxygen, fat, moisture, heat, and time.bulk food storage The more fat a food contains and the longer it is exposed to oxygen, moisture and heat, the faster it will spoil. In fact, the shelf life of some long-lasting products, like powdered milk, will vary depending
The incredible edible powdered egg.
Despite the at-times negative media attention (we all know how reliable the main-stream media is nowadays) eggs are a very nutritious source of food that is one of the cornerstones
Milk is something that most families consume in generous amounts. However, when it comes to storing it, most of us realize pretty quickly that fresh milk won’t last more than a couple of weeks at most. As a result, milk is often an item that is frequently omitted from a family’s emergency food storage.
photo source: http://www.ifood.tv Today I was working on some articles when I suddenly realized how hungry I was. It wasn’t lunchtime yet, so I thought …
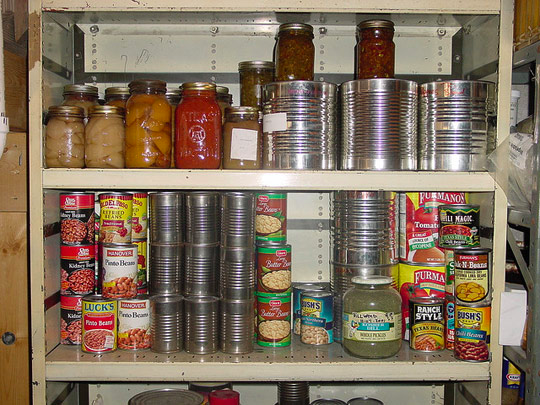
So here we are, talking about the most dreaded stockpiling operation: item organization. Usually, this stage of the stocking process is the most time-consuming… but …
As promised, this article is all about stock rotation strategies. Combined with a good item organization, rotation is the key to keeping your stockpile fresh and nutritious. And it’s actually quite easy, once you know the simplest rotation methods people have been using for years now.Here’s what you need to do: whenever you need something from your stock, you take the first item on the right. When you restock, you place the new item on the left and push the other
If you’re going to store emergency food for your family (or if you’re already doing this), then you should always keep in mind the 5 basic rules of food storage. They are all equally important, so make sure you don’t miss any one of them.It would be a pity to…